Angular Signal Forms Essentials
Understand the core concepts behind modern Angular Forms. Learn how to create Signal Forms, wire them up in templates, use built-in and custom validators, handle cross-field validation, submit forms, and more.

Kevin Kreuzer
@nivekcode
Feb 14, 2026
12 min read

Angular 21 was packed with exciting features. But there was one that truly stood out: Angular Signal Forms.
If you've been building forms with Reactive Forms for years and secretly wished they felt more... Angular-2026-ish - this is it.
With the Angular Renaissance, Angular introduced Signals - a new reactive primitive that now powers modern Angular APIs like:
- Component inputs
- Queries (
viewChild,viewChildren,contentChild,contentChildren) - Resource APIs
- And now... Forms
Forms are the backbone of most applications. They collect user data, drive workflows, and often contain complex validation logic. But until now, Reactive Forms and Template-Driven Forms didn't integrate naturally with Signals.
That changes with Signal Forms. And honestly? They're really fun to use.
In this post, we'll walk through the fundamentals and everything you need to get started.
1️⃣ It All Starts With the Form Model
Every form begins with a form model - a TypeScript interface that represents the structure of your form.
Let's build a simple conference creation form:
export interface ConferenceFormDate {
  start: Date;
  end: Date;
}

export interface ConferenceFormModel {
  name: string;
  date: ConferenceFormDate;
  online: boolean;
  url: string;
  location: string;
  description: string;
}
So far, nothing special. Now comes the shift. Instead of creating a FormGroup, we create a signal which implements our ConferenceFormModel interface.
conferenceFormModel = signal<ConferenceFormModel>({
  name: '',
  date: {
    start: new Date(),
    end: new Date(),
  },
  online: false,
  url: '',
  location: '',
  description: '',
});
Important: The form model must be a writable signal.
Calling Angular'ssignal()function creates a writable signal. However, in some cases you'll receive a readonly signal instead. For example, when selecting state from NgRx usingselectSignal(), the returned signal is not writable. You can wrap it withlinkedSignal()to create a writable version.
2️⃣ Creating the Signal Form
Now we generate the actual form:
conferenceForm = form(conferenceFormModel);
And just like that - you have a Signal Form.
But here's the key mental shift:
- In Reactive Forms, the
FormGroupowns the state. - In Signal Forms, your signal owns the state.
The form is simply a structured interface over your signal.
- Change the signal → the form updates.
- Change the form → the signal updates.
They stay perfectly in sync. No duplication. No hidden state. No competing sources of truth. That alone already makes the architecture feel cleaner.
3️⃣ Wiring It Up in the Template
To bind fields, Angular gives us a new formField directive:
<input matInput [formField]="conferenceForm.name" />
Nested fields? Just access them:
<input
  matInput
  [matDatepicker]="startPicker"
  [formField]="conferenceForm.date.start"
/>
Clean. Typed. Direct. And here's something you'll love:
The directive is strictly typed. If you try binding a number field to a text input expecting a string - TypeScript will complain.
Forms that actually help you instead of fighting you? Yes please.
4️⃣ Accessing the Value
You can access the full form value like this:
conferenceForm().value();
Remember: the form itself is a signal and so is the value - that's why we invoke conferenceForm and value.
5️⃣ Validation - Built-in Validators
Right now, our form happily accepts anything the user types in. Which... sounds friendly. But in reality, that's almost never what we want.
In the real world, forms are rarely that forgiving. I honestly don't think I've worked on a single production form that didn't require some kind of validation - whether it was required fields, formatting rules, cross-field checks, or business constraints.
Users make typos. Fields get left empty. Dates don't match. Emails are malformed. And sometimes business rules are stricter than we'd like. So how do we bring validation into our Signal Forms?
The form() function accepts a schema definition as a second argument:
conferenceForm = form(
  conferenceFormModel,
  (path: SchemaPath<ConferenceFormModel>) => {
    required(path.name);
  }
);
The schema function receives a SchemaPath typed to your model. That means path.name is strongly typed - and so are all other fields.
Whenever we want to attach a validator, we use the schemaPath to navigate to the exact field we want to validate.
Think of schemaPath as a strongly typed map of your form model. It mirrors your interface structure and lets you drill down to any field in a safe and expressive way.
So if we want to apply the required validator to our conference name, we simply navigate to the name field via schemaPath.name and attach the validator there.
required(schemaPath.name);
Built-in validators include:
required(path)min(path, minValue)max(path, maxValue)minLength(path, length)maxLength(path, length)pattern(path, regex)email(path)
Each validator can also receive a config object with a custom message:
required(path.name, {
  message: 'Please enter a conference name.',
});
Once applied we can add the following code to our template to render out error messages:
@for (error of conferenceForm.name().errors(); track $index) {
  <mat-error>{{ error.message }}</mat-error>
}
mat-error automatically handles the touched and dirty state. Error messages are only displayed after the user has interacted with the field - exactly how real-world forms should behave.
No manual checks. No extra @if conditions needed. No boilerplate.
6️⃣ Custom Validators - Where Things Get Interesting
Built-in validators are great. But real applications rarely stop there. At some point, you'll need business logic.
- Must start with uppercase.
- Username must be unique.
- Password must not match previous password.
This is where Signal Forms start to feel really powerful.
Custom validation is powered by the validate() function - and creating your own validators has never felt this straightforward.
validate(path.name, (ctx) => {
  const value = ctx.value();
  const isValid = /^[A-Z]/.test(value);

  if (isValid) return null;
  return {
    kind: 'uppercase',
    message: 'The value must start with an uppercase letter',
  };
});
Your validator simply returns:
null→ valid{ kind, message }→ error
But here's the nice part: the ctx object gives you access to more than just the current value.
You can access:
ctx.value()– current field valuectx.valueOf(path)– value of another fieldctx.state()– touched/dirty statectx.stateOf(path)– state of another field
You're not stuck in a narrow context - you have full awareness of the form. And because validators are just functions, you can extract and reuse them:
export function mustStartWithUpperCase(path: SchemaPath<string>) {
  validate(path, (ctx) => {
    const value = ctx.value();
    const isValid = /^[A-Z]/.test(value);

    if (isValid) return null;
    return {
      kind: 'uppercase',
      message: 'The value must start with an uppercase letter',
    };
  });
}
Then use it inside your schema:
form(conferenceFormModel, (path) => {
  mustStartWithUpperCase(path.name);
});
Clean. Reusable. Testable.
7️⃣ Cross-Field Validation - This Is the Game Changer
Now let's talk about something that used to be painful: cross-field validation.
Imagine validating a date range.
export function startDateMustBeBeforeEndDate(
  path: SchemaPath<ConferenceFormDate>
) {
  validate(path, (ctx) => {
    const startDate = ctx.fieldTree.start().value();
    const endDate = ctx.fieldTree.end().value();

    if (!startDate || !endDate) {
      return null;
    }

    const start = new Date(startDate).setHours(0, 0, 0, 0);
    const end = new Date(endDate).setHours(0, 0, 0, 0);

    if (end >= start) {
      return null;
    }

    return {
      kind: 'invalid_date_range',
      message: 'End date must be the same as or after the start date.',
    };
  });
}
Now here's the magic: Validators run inside a reactive context. Angular automatically tracks every signal you read. So if your validator reads the value of the startDate or the value of the endDate it will automatically re-run whenever either of them changes.
- No subscriptions.
- No
valueChanges. - No manual
updateValueAndValidity().
Compare that to Reactive Forms:
this.form.get('startDate').valueChanges.subscribe(() => {
  this.form.get('endDate').updateValueAndValidity();
});
That boilerplate? Gone.
Signal Forms react to what you read. And once you experience this, cross-field validation suddenly feels... easy.
8️⃣ Submitting the Form (A Huge Upgrade)
Signal Forms introduce a new submit() function that handles the boring parts for you.
async function onSubmit() {
  await submit(conferenceForm, async (form) => {
    const response = await api.save(form().value());

    if (response.error) {
      return {
        kind: 'server',
        message: response.error,
      };
    }
    return undefined;
  });
}
What submit() does automatically:
- Marks all fields as touched
- Aborts if form is invalid - your callback is not executed unless all form fields are valid
- Sets
submitting()totrue - Executes your async handler
- Applies server errors
- Resets
submitting()
Angular provides a nice submitting state that allows you to easily disable the button while form submission is in progress:
<button [disabled]="conferenceForm().submitting()">
  {{ conferenceForm().submitting() ? 'Sending...' : 'Submit' }}
</button>
No manual flags to check form validity.
9️⃣ Resetting the Form
We can call the reset function on the form to simply reset the interaction state:
conferenceForm().reset();
Calling this does not reset the values but the states such as touched, dirty and pristine. In the example above we reset the whole form but we can also only reset a single field:
conferenceForm.name().reset();
If you want to reset the form to the initial set of values for example to have empty value for every field you can pass a state to the reset function.
conferenceForm().reset(conferenceFormInitialState);
In practice you often want to reset to the initial form therefore keeping the initial state external is a great practice:
export const conferenceFormInitialState: ConferenceFormModel = {
  name: '',
  date: {
    start: new Date(),
    end: new Date(),
  },
  online: false,
  url: '',
  location: '',
  description: '',
};
Final Thoughts - Why Signal Forms Matter
Signal Forms aren't just a new API.
They represent a shift in how forms integrate with Angular's reactive core:
- The signal owns the state
- Validation is reactive by default
- Cross-field logic feels natural
- Submitting is streamlined
- Everything is strongly typed
- Boilerplate disappears
I am a big fan of the new Signal Forms API and trust me, once you've built a complex form with Signal Forms, going back to classic Reactive Forms feels... heavy.
Welcome to the Signal era.
Do you enjoy the theme of the code preview? Explore our brand new theme plugin
Skol - the ultimate IDE theme

Northern lights feeling straight to your IDE. A simple but powerful dark theme that looks great and relaxes your eyes.
Build smarter UIs with Angular + AI
Angular + AI Video Course
A hands-on course showing how to integrate AI into Angular apps using Hash Brown to build intelligent, reactive UIs.
Learn streaming chat, tool calling, generative UI, structured outputs, and more — step by step.
Want a practical guide to Angular Signal Forms architecture, validation, and migration?
Angular Signal Forms eBook

Build typed, validated, production-ready Angular forms with signals using a model-first approach.
Learn schema-driven validation, form-state signals, custom controls, Reactive Forms migration, and clean API mapping patterns.
Do you enjoy the content and want to master Angular's brand new Signal Forms?
Angular Signal Forms: Hands-On Masterclass
Master Angular's brand new Signal-Forms through 12 progressive chapters with theory and hands-on labs.
Learn form basics, validators, custom controls, subforms, migration strategies, and more!
Get notified
about new blog posts
Sign up for Angular Experts Content Updates & News and you'll get notified whenever we release a new blog posts about Angular, Ngrx, RxJs or other interesting Frontend topics!
We will never share your email with anyone else and you can unsubscribe at any time!
Responses & comments
Do not hesitate to ask questions and share your own experience and perspective with the topic
You might also like
Check out following blog posts from Angular Experts to learn even more about related topics like Modern Angular !
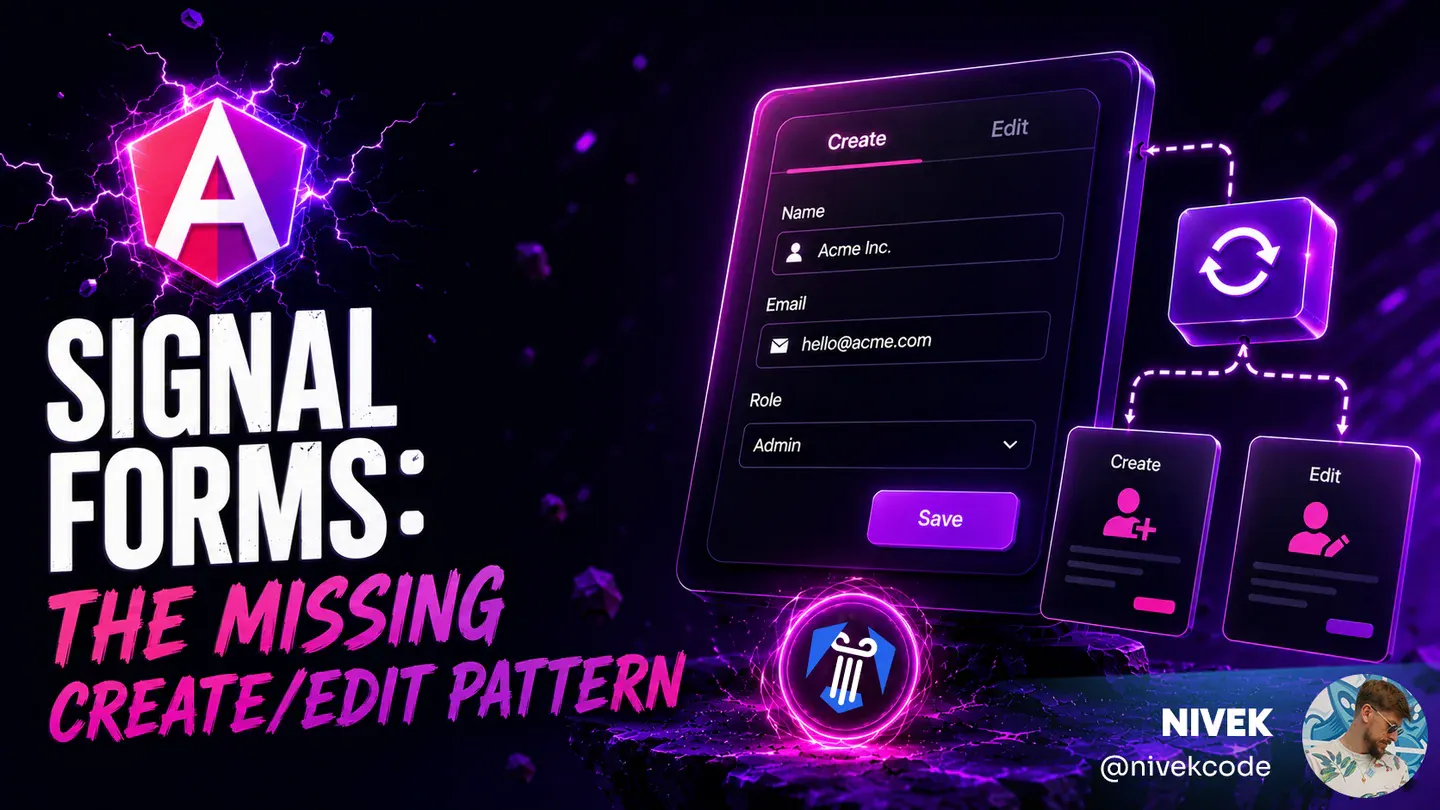
Angular Signal Forms: The Missing Create/Edit Pattern
Learn a practical Angular Signal Forms pattern for create and edit flows, with route-based mode, edit data loading, linkedSignal prefilling, submit branching, and validation context.
Kevin Kreuzer
@nivekcode
Aug 1, 2026
6 min read
Angular Signal Forms Config
Learn how to configure Angular Signal Forms to bring back the classic CSS state classes (like ng-valid, ng-invalid, and ng-touched)—either for backward compatibility with existing styles or to unlock new customization, like emitting your own tailored state classes for advanced styling.
Kevin Kreuzer
@nivekcode
Jan 24, 2026
4 min read

Zoneless Angular
Zoneless Angular marks a shift away from Zone.js toward a more modern and efficient approach. Let's find out what it means and how to prepare your apps to be future-proof and ready for what’s next.
Kevin Kreuzer
@nivekcode
Jul 1, 2025
7 min read
Empower your team with our extensive experience
Angular Experts have spent many years consulting with enterprises and startups alike, leading workshops and tutorials, and maintaining rich open source resources. We take great pride in our experience in modern front-end and would be thrilled to help your business boom
